Why Choose a Vegetable Bouquet?
A vegetable bouquet is:
- A perfect host gift – A fresh, edible arrangement that’s both beautiful and practical.
- A great way to showcase homegrown produce – If you’ve been nurturing your garden, why not share the bounty in a creative way?
- A sustainable choice – A vegetable bouquet can be eaten, reducing waste.
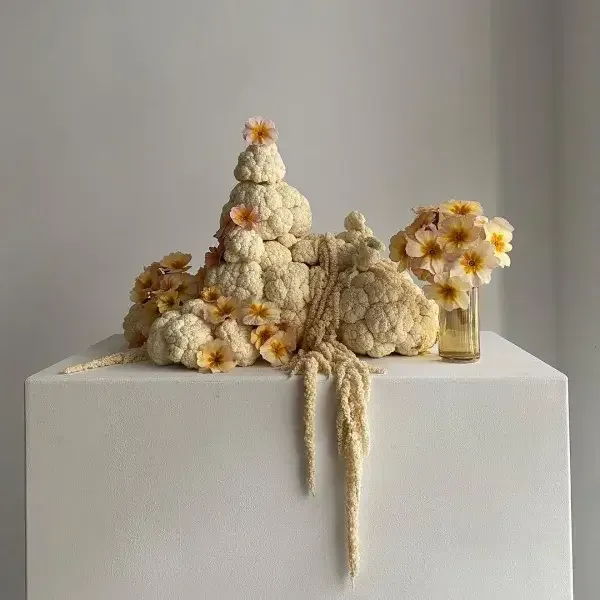
Credit: wishbone_berlin
The Best Vegetables for a Bouquet
For a bouquet that’s as vibrant as it is delicious, choose a mix of colours, textures, and shapes. Here are some of our favourites:
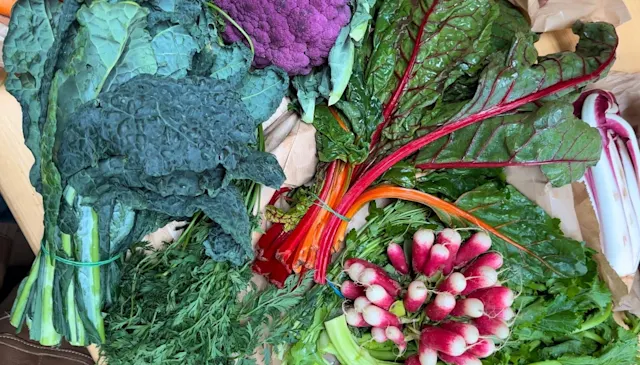
Statement Veggies (for the centrepiece)
Bright & Bold Accents
Radicchio
Radishes
Beetroot
Sweet Peppers
Corn on the Cob
Leafy & Textural Greens
Long & Elegant Stems
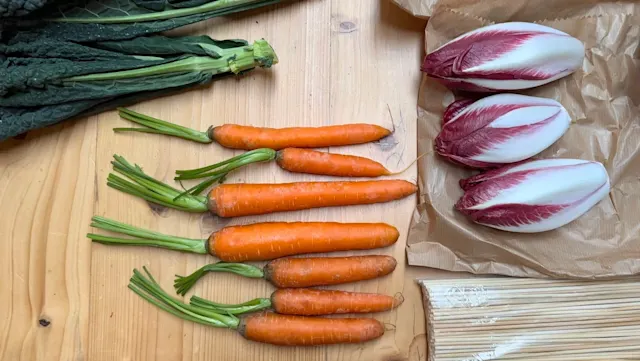
What You’ll Need
How to Make a Vegetable Bouquet
Step 1: Prepare Your Vegetables
Step 2: Skewer the Veggies
For larger vegetables like broccoli or cabbage, insert 2-3 skewers into the base to create a sturdy centrepiece.
For smaller veggies like carrots or radishes, one skewer through the top should be enough.
Step 3: Bundle the Greens
Gather herbs, beans, asparagus, or kale into small bunches and tie them with twine.
These will act as fillers to add volume and texture.
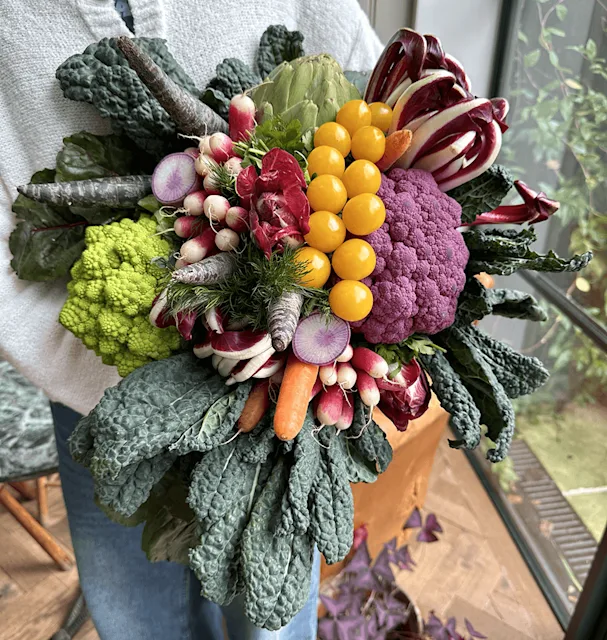
Step 4: Build the Bouquet
Start with a large vegetable (we love using purple cauliflower as a focal point).
Add smaller veggies around the edges, using your herb and green bundles to fill any gaps.
Continue layering, alternating between large and small elements for balance.
Step 5: Add the Finishing Touches
Use leafy greens like kale or chard around the edges to create a natural, rounded shape—just like foliage in a floral bouquet.
Once you’re happy with the arrangement, secure all the skewers together with twine, just as you would with flower stems.
Step 6: Wrap & Present
Wrap the base in kraft paper for a rustic, gift-ready finish.
Tie with twine or ribbon for an extra special touch.
Ready to try it?
A vegetable bouquet is a show-stopping, sustainable, and delicious way to celebrate the beauty of fresh produce. Whether you’re gifting it or displaying it as a centrepiece, it’s sure to be a conversation starter. Looking for more crafting inspiration? See our DIY craft guide.
Tag us on Instagram @bloomandwild if you create your own—we’d love to see your edible masterpieces!


