


Our top tips for making a front-facing bouquet
What you’ll need
A vase filled with clean water
A pair of sharp scissors
Any flowers you have
15 minutes
1. Choose your vase wisely
Try to use a vase with a wider base than its neck as this helps to hold your flowers perfectly in position. But if all you have is a wide vase, don’t worry! You can just cover the mouth with a grid of sellotape so your flowers don’t splay out to the sides as you arrange.
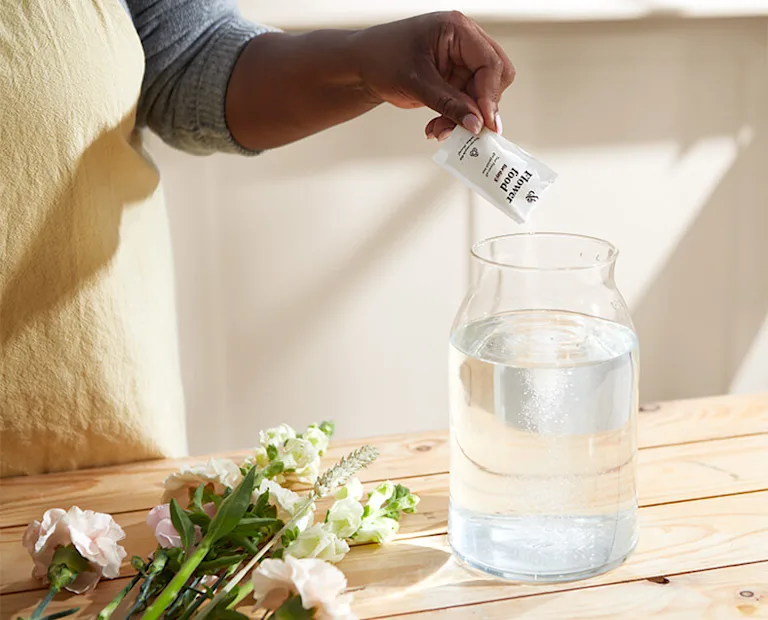
2. Trim your flowers
Cut your stems at a 45 degree angle about 3-5cm above their bottoms. We do this because the ends of the stems are dry and so have air blocks, which stop water going up to hydrate your blooms. By cutting at an angle it gives a better surface area so more water can get up!
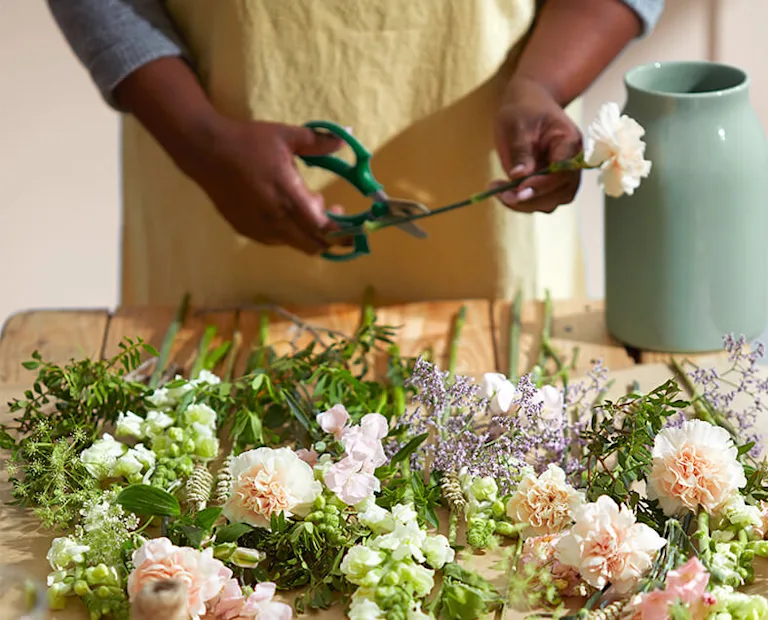
3. Prune away some leaves
Take off any greenery that’s going to be below the rim of your vase. Otherwise they’ll drop off into the water and start to rot. And that’s not good for your flowers!
4. Lay out your flowers by type (or colour)
For each flower you have, you’ll want some tall at the back, some in the middle and some short in the front. Harriet likes to arrange her bouquets one flower at a time, which helps her see what she's got to work with.
5. Criss cross a base layer in
In any flower arrangement you have focal flowers, which have interesting shapes and colours that draw the eye in, and you also have filler flowers. which have lots of little heads and are flouncier. Start by placing your filler flowers into the vase in a criss-cross fashion, creating a tipi shape. Remember, the back won’t be seen, so use taller stems at the back and keep it flat.
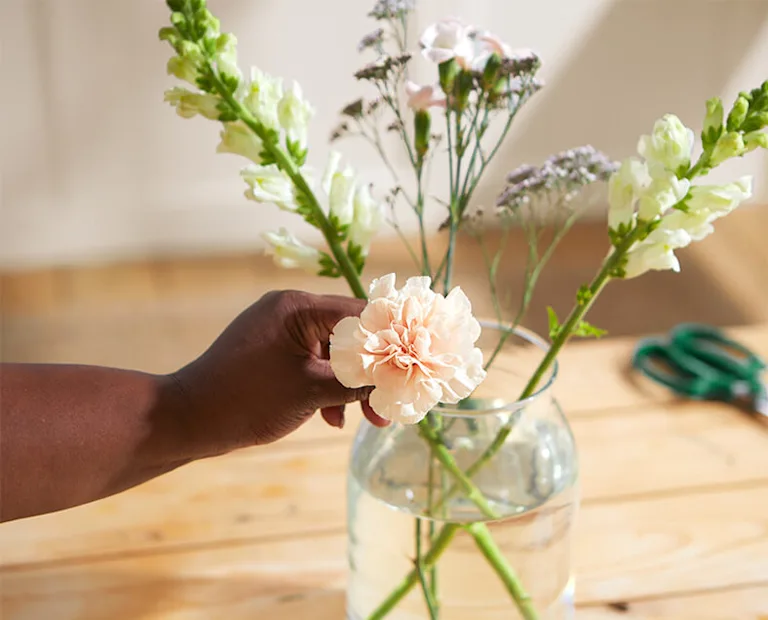
6. Create a tiered system
Think of your display like stadium tiers. You want to create a tall flat back and a dome shape going forward. Use your vase as a measuring device and make sure you cut every flower type into a range of heights. Harriet does this as she goes along.
7. Arrange in triangles
Harriet works a lot in triangles. Odd numbers and triangles are aesthetically pleasing to the eye. So put one tall flower at the back, bring the eye down with another matching one in the middle and then another matching one really low down, so your eye is brought down from top to bottom. Make it easier by working from the back to the front, working down in a zigzag way with your colours and flower types.
8. Dress the front
Fill any gaps at the very bottom of the flower arrangement by popping your shortest flowers and foliage just above the rim so they add some twinkle.
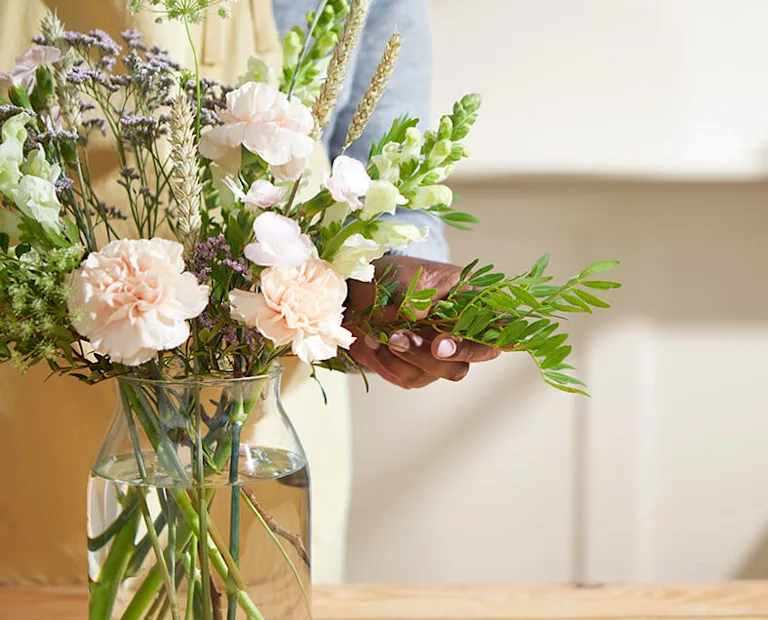
And that’s it! We hope you’ve enjoyed flower arranging with us today. Don’t forget to read our tips on how to make flowers last longer to get the most out of your arrangements. Or if you’d like to treat someone to a flower delivery, don’t miss our collection of letterbox and hand-tied bouquets.