
How to make paper flowers
Feeling arty-farty? Indulge your budding artist with this origami DIY craft idea The best bit? You can do it in under an hour. Amy from our Ops team shows us how.


What you’ll need:
'Doublette' crepe 90gsm – we like peach, but we’re not preachy Green crepe 1x Cellbud conical sphere 2cm Floristry wire 20 gauge Tacky glue Sharp scissors
1. Cut 15 petals
Using the peach crepe, cut out three small and 12 large petals. Cup them very slightly, then curl the edges over, using your thumb and index finger. This will create a more realistic petal shape.
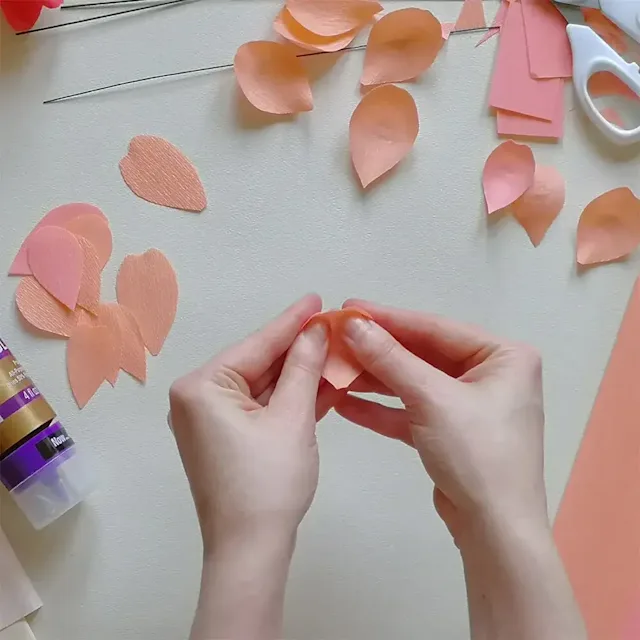
2. Shape the petals & create a ‘bud’
Take all 15 petals and wrap the edge over the middle of the wire, then roll it between your fingers. This creates a more authentic, soft edge.Then insert the end of the wire into the flatter end of the Cellbud. Put a tiny bit of the peach crepe (and glue) over the top, to keep the colour consistent.
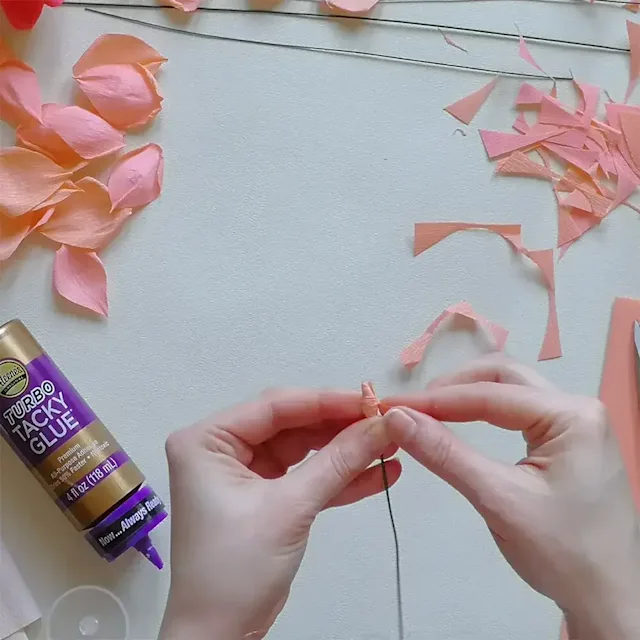
3. Start forming the centre of your paper rose
Take the three small petals and put a dab of glue right in the middle, towards the top. Position the first so the tip of the petal is just above, or at the tip, of the Cellbud cone, where you added the peach. Lay the other on the opposite side, and repeat with the third as an off-centre overlap.
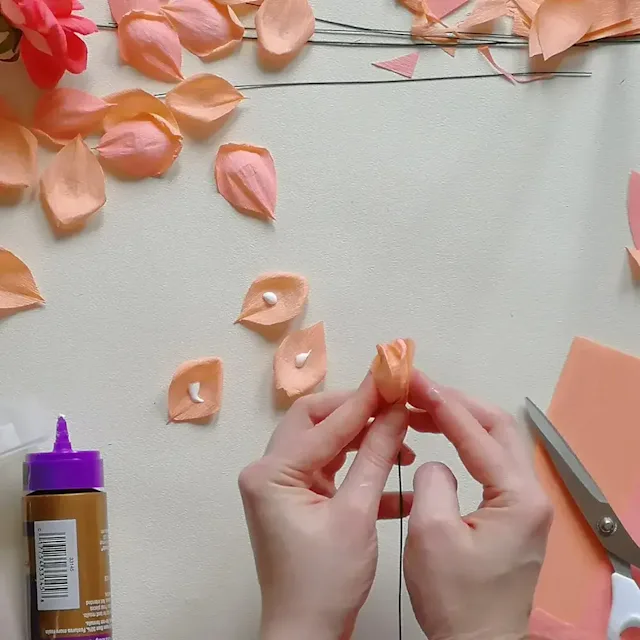
4. Keep layering petals
Now take the first two larger petals and start to layer these on too. As you go around, you’ll want to stick them at a slight angle. Think 2 o'clock for the third compared to the noon of the first and second. Then continue with the rest, and go for about 4pm, then 8pm. At this point you want to start putting the glue lower in the petal when you stick it on - always making sure it's stuck tight, but letting the upper part of the petal hang away a little more each time, which forms the bloom.
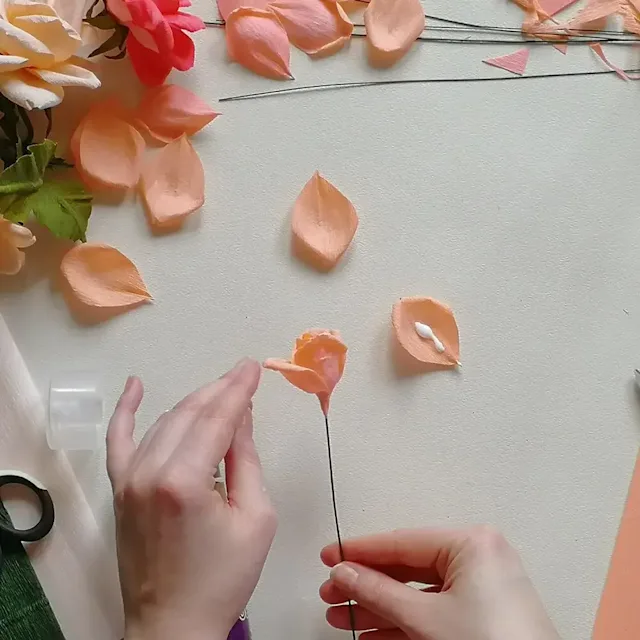
5. Spiral the remaining petals
Keep sticking the petals on at the same counter-angles. Use lower and lower glue dots, so that the last few you stick on are attached only at the very bottom edge, hanging very open.
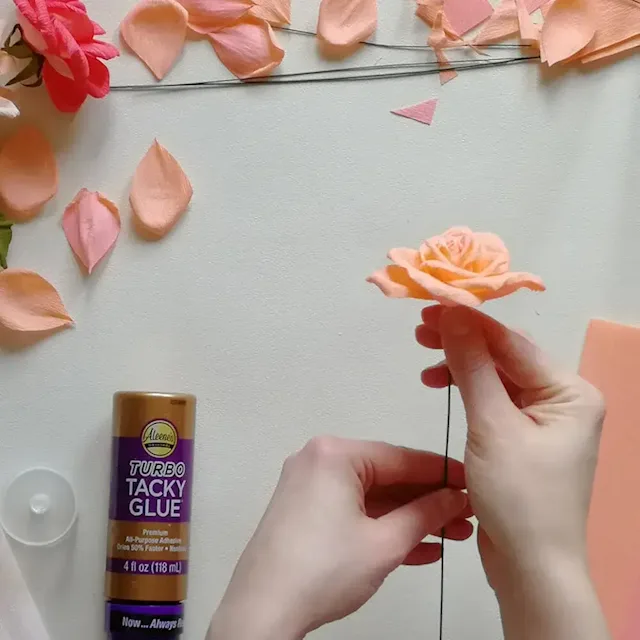
6. Create your calyx
Now that the petals are on, create the green calyx at the base of the petals. Cut a green crepe rectangle 2cm x 6cm and cut a deep vertical zigzag along it, not quite to the bottom. Put glue along the edge you left solid and wrap this around the bottom of the petals with the zigzag points upward.
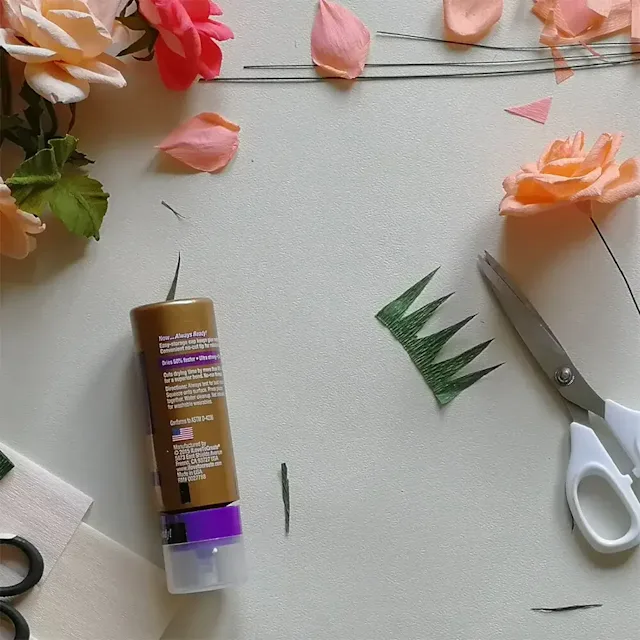
7. Wrap the stem
Then cut 1cm x 10cm from the green, stretch it out and dab this with glue. Use this to seal the petals onto the stem and wrap it.
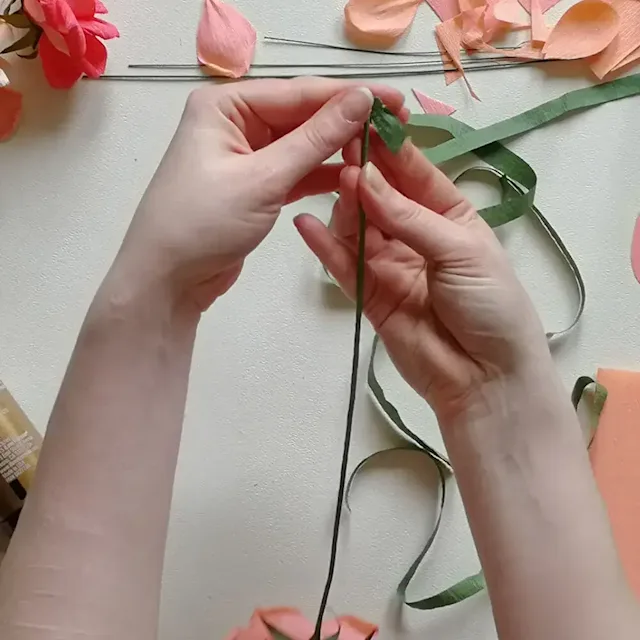
8. Cut the leaves
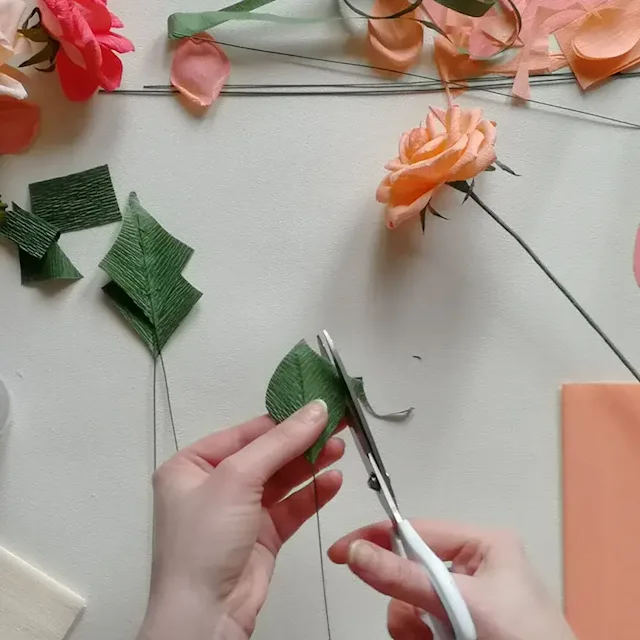
Cut a square from green crepe and diagonally cut that into triangles. Then flip one of the triangles over, so that the grain of the paper creates a chevron effect, like the veins in a leaf.
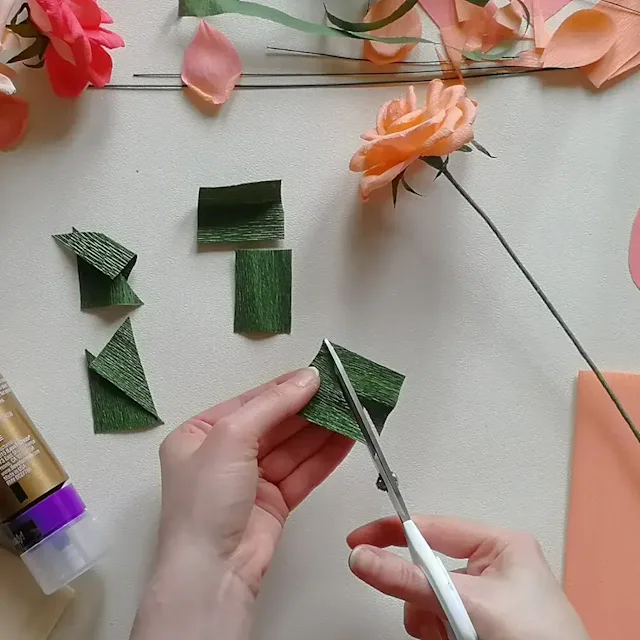
9. Secure the leaves
Lay a wire in the middle that extends a few inches out of the bottom: the right way up creates a Y shape with the chevron, not an upward arrow. Put a line of glue along the join and sandwich a wire inside the triangles - pressing hard so this is really secure. Make three of these and let them dry.
10. Wrap the leaves around the stem in threes
When dry, cut them into leaf shapes, snip the edges for that jagged effect rose leaves have, and then wrap them together in threes and onto the stem.

Et voila! Roses can enjoy on repeat for months (and even years). For a taste of the real thing, our fresh rose bouquets never disappoint.