
DIY Christmas Crackers
Looking for a fun way to add some extra sparkle to your Christmas table? We've got just the thing. Read on for our step-by-step guide to making DIY Christmas crackers.
We're using the gorgeous wrapping from our Liberty Flowers collection, but don't worry if you don't have that – any pretty paper will do.


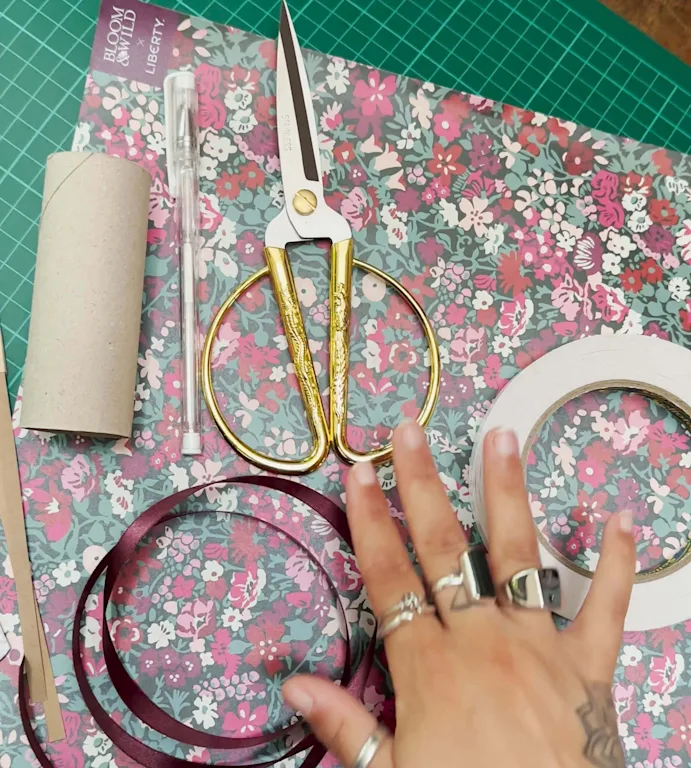
What you'll need for your crackers
Your favourite wrapping paper (we love our Liberty print, of course!)
A cardboard tube (an empty loo roll works perfectly)
Scissors
Ruler
Cracker snaps
Double-sided tape
Pen
Ribbon
Top tip: One sheet of our Liberty print can make about four crackers.
Step 1:
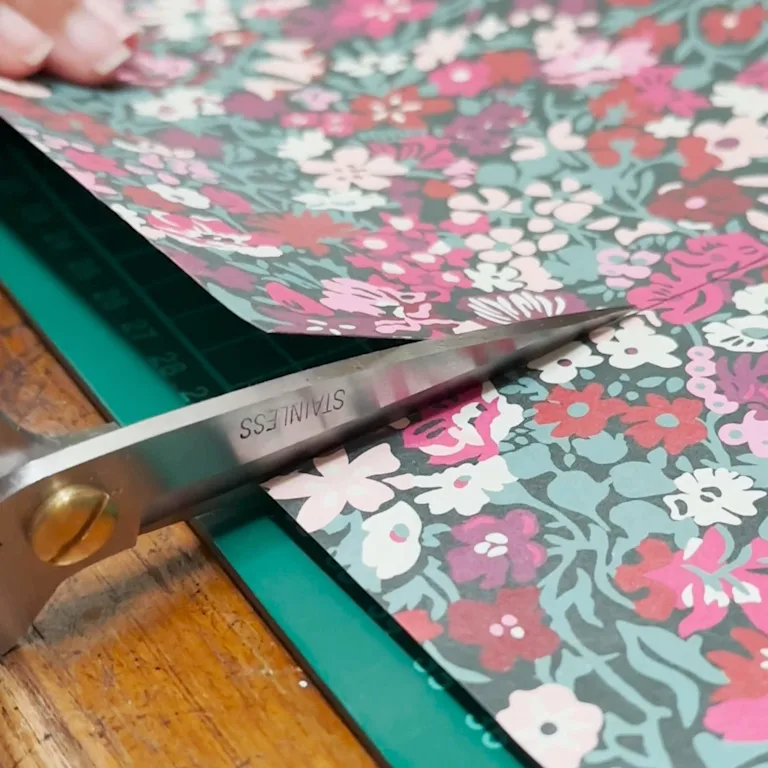
Start by cutting a 30 by 20cm piece from your chosen paper.
Step 2:
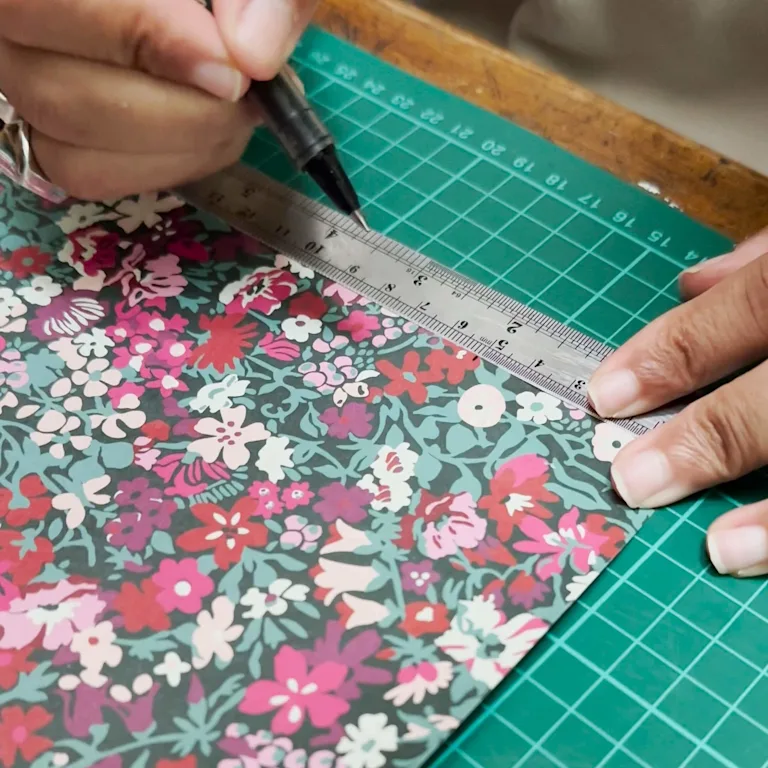
Time to make some folds! On each short end, draw three lines: one 5cm in, then two more 2cm apart. Fold along these lines.
Step 3:
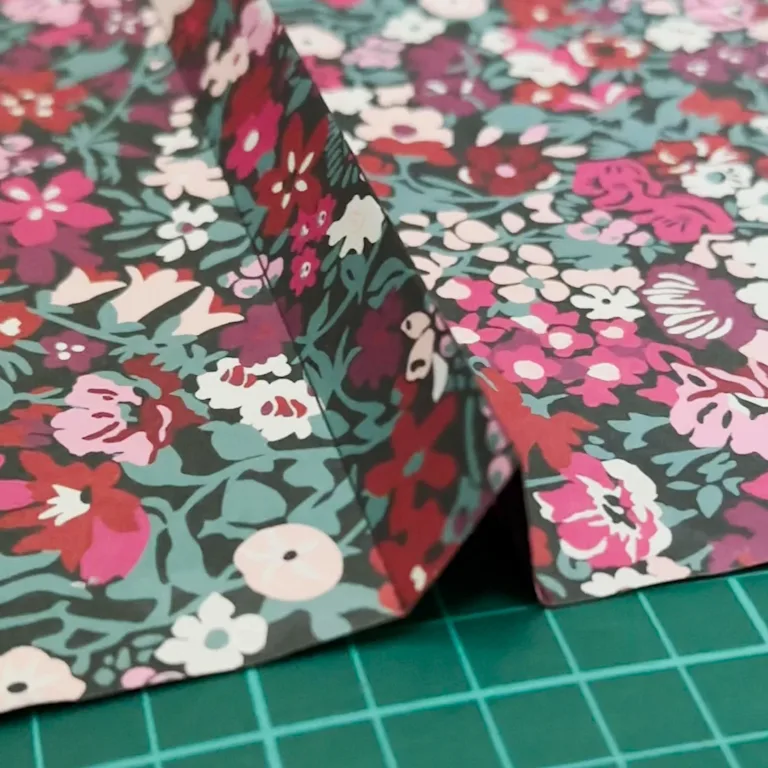
Now for the fun bit – pinch 2cm sections to create little peaks, then tuck the 5cm sections underneath. It's starting to look cracker-shaped!
Step 4:
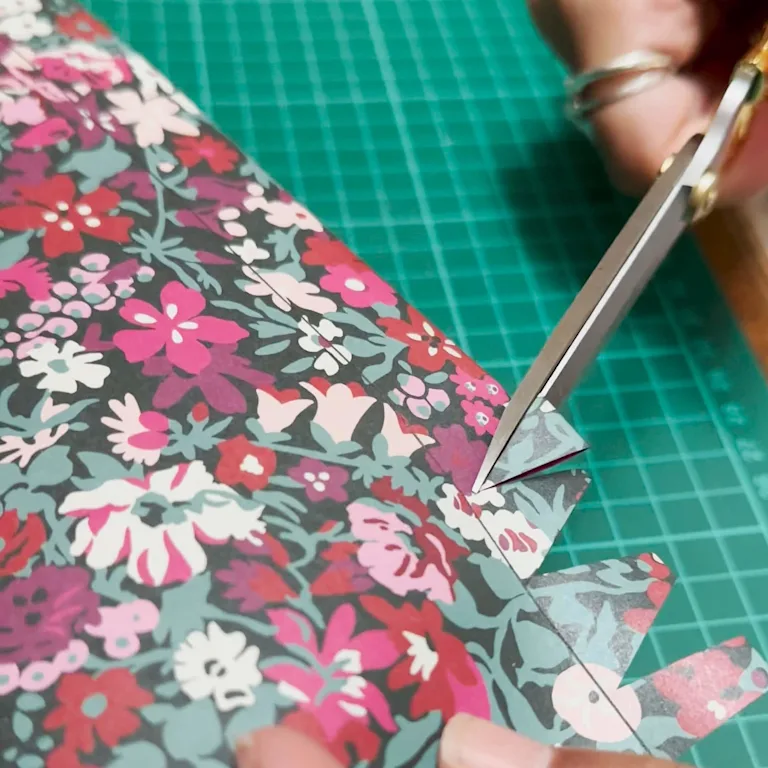
Let's add some flair. Snip triangles along the bottom edge, leaving small gaps between. Do the same on the other side.
Step 5:
Pop some double-sided tape on either end of your middle section.
Step 6:
Grab your cardboard tube and add in a prize to the tube (ideas: handwritten jokes, christmas hats, or small gift). Attach the tube to one side.
Step 7:
Roll the tube with the paper to the other side.
Step 8:
Pop a cracker snap inside (this is what makes the 'pop'!) and secure with tape. Make sure to tape down either end of the paper too.
Step 9:
For the finishing touch, pinch the cut-out sections and wrap a ribbon around them. You could even use the ribbon that came with your Bloom & Wild bouquet, cut in half. How's that for upcycling?
And there you have it! Your very own, beautifully crafted Christmas cracker. Perfect for adding a personal touch to your festive table, or as a thoughtful handmade gift. Want to see how we did it live? Look below for our DIY video.