
Your spider plant care guide
It should be no surprise how this plant got its name. It’s known for its arching leaves that shoot off in all directions. Caring for this plant isn’t scary at all though. It’s actually perfect for beginners. And – bonus – it even has air-purifying properties.
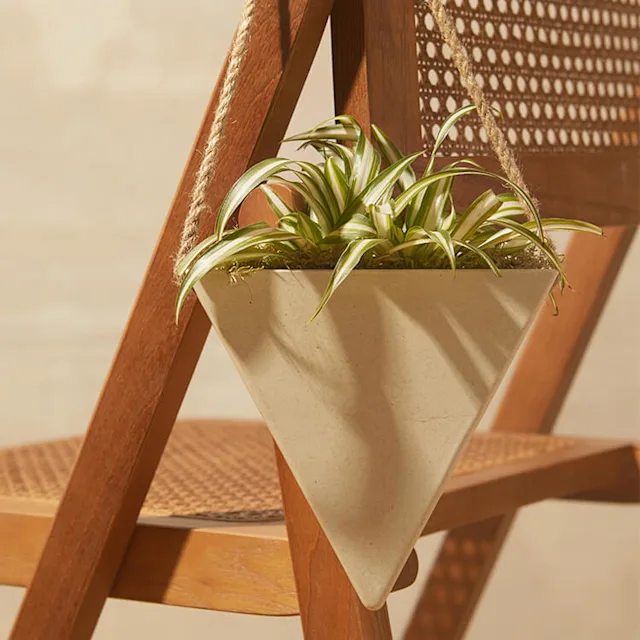
How to care for a spider plant
Pop it in a partially sunny spot
Spider plants love bright, indirect light. An ideal spot would be somewhere that gets several hours of dappled sunlight (through net curtains or blinds). Or an east or west-facing window.
These plants can tolerate lower levels of sunlight. But definitely don’t put yours in a spot where the light is too strong. You may scorch the leaves.
Water it lightly
These plants are happy with a weekly watering during spring and summer. The goal is to make the soil moist – but never damp or waterlogged as this can cause root rot. Let the soil dry out slightly in between waterings. You can reduce how often you water it during the winter.
Give it a mist every so often
Spider plants aren’t too fussy about humidity. But, like most plants, they don’t like when the air is too dry. Keep the moisture levels consistent by giving yours an occasional mist.
Fertilise it every month
Fertiliser will help your plant thrive. Mix some into its water every four to six weeks, during growing season (March to September). Use one that’s balanced to ensure it gets all the nutrients it needs.
What are the signs of an unhappy spider plant?
Brown leaf tips
This can be a sign of low humidity. Make sure your spider plant isn’t caught in a spot with a cold draught. And give it the humidity it needs by misting it regularly. If that’s not the issue, try changing to filtered water. Spider plants can be sensitive to fluoride in tap water.
Yellowing leaves
Again, this can have more than one cause. But they're both related to water. You may be overwatering your plant. Only give it a drink when the top inches of soil feel dry. You should check that your choice of pot has enough drainage holes too.
Bugs
Watch out for spider mites, scale, and mealybugs. These pesky bugs love spider plants as much as we do. To get rid of them, grab some non-toxic insecticidal soap or neem oil and dilute it in a spray bottle with some water. Spray the mixture anywhere you notice the bugs, including the underside of the leaves (where they like to hide!).
Do I need to repot my spider plant?
You’ll need to repot your spider plant every year or so, when it becomes root-bound. If you notice its roots peeking out the bottom of the pot, that’s your sign.
The best time to repot your plant is during growing season (spring or early summer).
1. Choose a pot with drainage holes that’s slightly larger than the current one. Then fill the bottom of the pot with a layer of well-draining potting mix.
2. Remove your spider plant from its original pot by gently tipping it on its side and pulling it out by its base.
3. Pop your plant in the centre of the new pot and fill around its roots with the new potting mix, pressing down gently to remove air pockets.
4. Finish by lightly watering the soil.