
How to make a floral wreath
Decorative wreaths aren't just for Christmas. As blogger and influencer Laura-Ann of @all.thats.pretty proves with her hugely popular flower wreaths all-year round. As a big fan of ours, she often uses our blooms to make her wreaths and today she's teaching us how.
“I find I can get up to a week with my blooms on display in the house and then I cut them short, add them to a seasonal wreath and keep them outside. By doing so, I find I can easily extend their freshness by another 4 days.” Laura-Ann
Want to make a beautiful wreath of your own?

Here’s what you'll need:
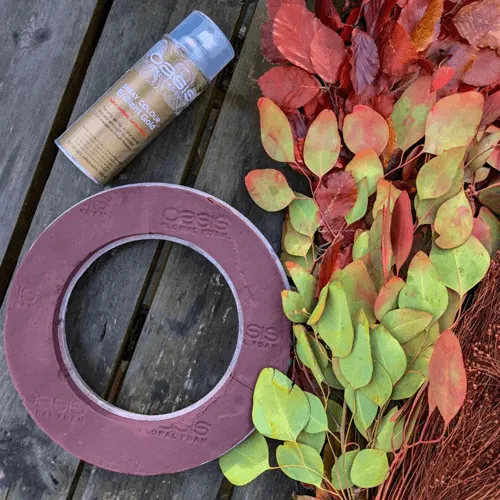
Oasis naturebase biofoam ring, flowers, autumn foliage, gold spray paint, floral scissors for cutting, twine or ribbon to hang.
Here’s what to do:
Step 1: Gather your flowers and foliage
Gather up some foliage in the form of leaves and branches. You can use some gold spray paint on any leaves that are a little too green, it’ll give this wreath a magic touch.
Step 2: Cover your wreath ring with foliage
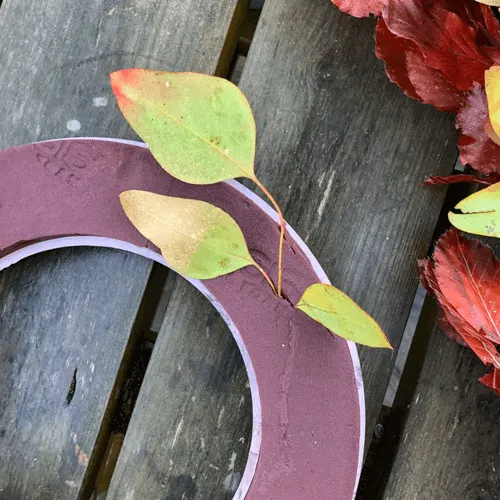
Soak your biofoam oasis in water until it is full and heavy. Then, start your wreath with the foliage first. In a circular direction, push the stems of your branches into your oasis ring. Keep going until you can't see any brown foam.
Step 3: Add your flowers
Trim the flowers at an angle so they’re about 3 inches long and push them directly into your oasis. It’s best you don’t move them once you’ve pushed them in as it’ll damage your oasis, so try to plan how it will look beforehand. For example, do you want roses the whole way round or at opposite ends? Laura-Ann decided on berries and decorative foliage all around and then roses & freesias at the top and bottom corners.

Step 4: Hang it up
Make sure your wreath is in an even circular shape, then grab some twine so you can hang it from your door! Then just remember to give it a light water every other day.

Looking for more crafty ideas? Learn how to press flowers (and turn them into pretty phone cases) here.